Categories: Hardware Leisure
Tags: electronics hardware modification repair video game
Posted by: Darian Cabot
Comments:0
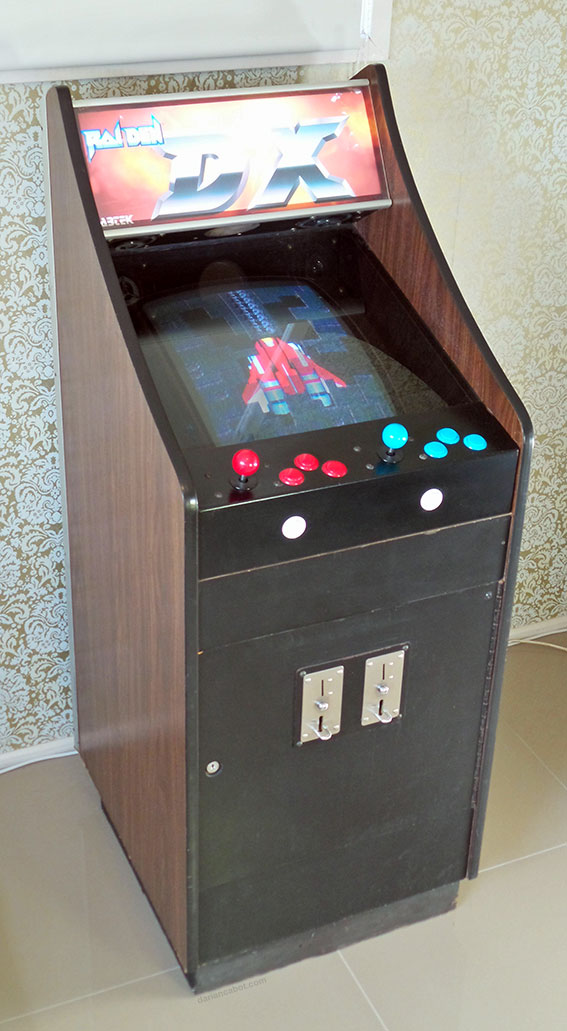
Lowboy arcade cabinet modifications
The lowboy arcade cabinet design, as the name suggests, is a relatively small cabinet that was common in Australia during the 90s. I remember these being more popular in corner stores than video game arcades. They were a cheap and compact alternative to the standard larger cabinets and could easily be converted to play different games by swapping out the game PCB and the marquee graphics.
Here’s my lowboy arcade cabinet:

There was a lowboy in the deli (corner shop) near my home when I was growing up. It used to run a game called Tumblepop which I grew addicted to, partly due to a lack of alternative games nearby, but I really did find it fun.
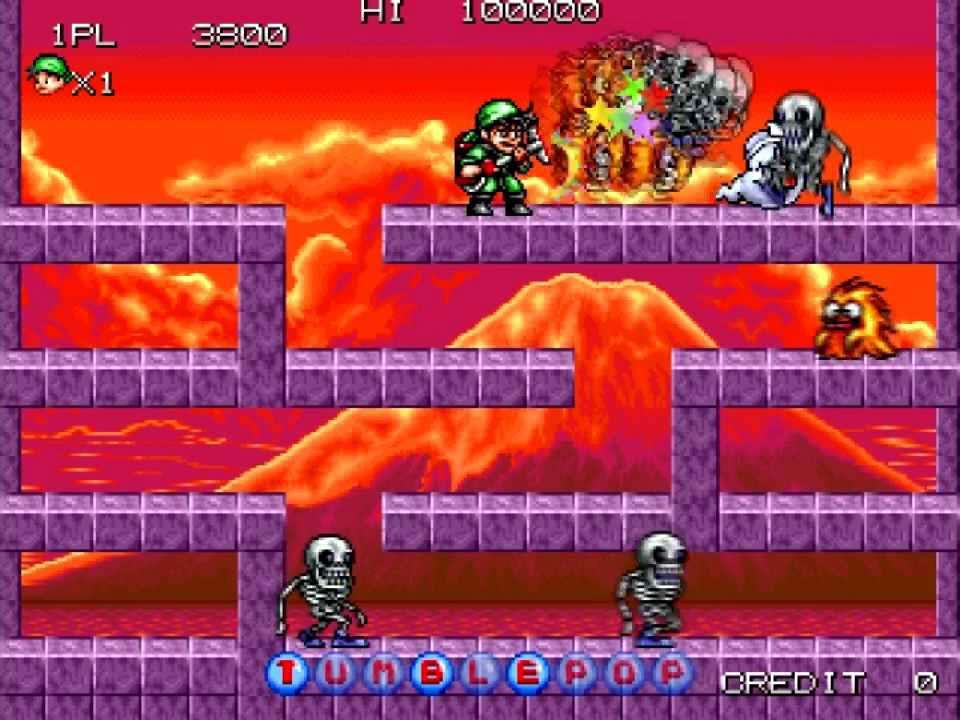
It was a fixed level platforming game (like many older games), and supported two players at the same time. This is a common game style for these early 90s arcade games and they tended to clone and copy each other. In Tumblepop you played as a little guy with a vacuum cleaner backpack (reminded me of Ghostbusters at the time) and you cleaned up the bad guys and could shoot them out. Admittedly, it’s pretty lame now, but it has huge nostalgia value for me 😉 In fact, this game was the first PCB I purchased in my collection!
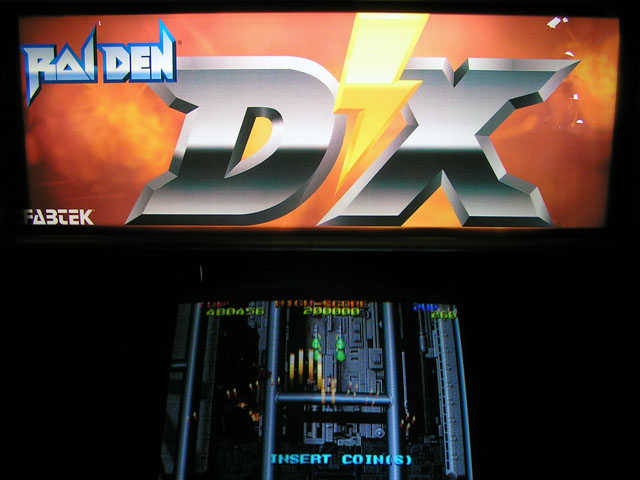
My lowboy cabinet has a rotatable monitor so I can use it for both horizontal and vertical games (although it’s usually in the vertical configuration for Raiden). I’ve used this cabinet for my arcade video reviews.
Modifications and enhancements
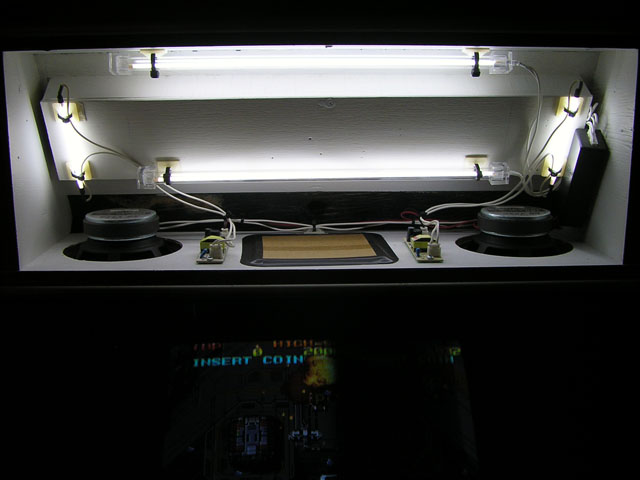
Interior lighting
This enhancement is suited to the collector that swaps out game PCBs often. If you’re PCBs aren’t on a slide out tray, and you have to reach inside to disconnect and connect the PCBs, then you’ve probably struggled a bit in the dark. I had some white cold cathodes (CCFL) in my collection of spare random electronics parts that run off 12VDC and would be brilliant to install inside to help me see what I’m doing. I’ve wired up two cold cathode tubes that are switched using a lever type micro-switch near the front door. This means my cabinet works the same as your fridge. The light turns on only when the door is opened!


Front door switch panel
My lowboy didn’t have any test, service, or credit switches inside like many newer cabinets do (candy cabs for example). This is something I needed to install myself. I did this with a length of aluminium ‘L’ extrusion and an assortment of momentary, and on/off push buttons. I wired these to the JAMMA specification and it works perfectly! The switches are audio (mute), marquee (light), player 1 credit, player 2 credit, test, service, and a spare for future use.


Audio mute button
All audio can be switched from a button on my front door switch panel. This is essentially a mute button, so I can easily cut audio for the entire cabinet with the push of a button. Good for late nights until I install a headphone jack, or to easily mute audio.
Marquee lights
When I refurbished my lowboy cabinet, I completely gutted it and rewired it from scratch with new parts for almost everything. Part of this upgrade was to use cold cathodes (the same used for the interior lights) for the marquee. The benefit of cold cathodes is they run cold, they are long lasting, and very easy to install. Since I rewired everything, it was easy for me to install a switch, which I did on my front door switch panel.
Monitor flip switches
Anyone who swaps arcade PCBs in and out of a single cabinet will understand the issues involved with monitor flipping. The JAMMA standard introduced in 1986 didn’t actually specify the orientation of the picture on the screen, so it’s different for different game PCBs. This means that one game can look fine, but the next game you plug in may be flipped so everything looks mirrored, or upside down. There are two ways this can be fixed. The first, most common, and easiest way is to use DIP-switch or set-up menu settings to flip the picture back to normal. Many games have this setting available, but there are many that don’t. So another method is used to flip the picture, which is more of a pain in the ass if you change game PCBs often in the cabinet. There are four wires that go from the monitor chassis (driver board) to the monitor (the actual electron gun board attached to the glass tube). Two for horizontal sync, and two for vertical sync. By changing these around, the picture will flip, so it’s easy enough to get the picture right. You can understand why this is a pain in the ass though, rummaging around in the back of the cabinet to switch wires, which incidentally is quite close to some very high stored voltages, even when switched off. I got tired of doing this when changing games.
The solution is to install two switches that are easily accessible at the front of the cabinet, for example near the service switches. That way, if a game’s picture is flipped, you can flick the switches to fix it, instead of scrounging around at the back of the cabinet to change the wires. This is a great cheap enhancement for a collectors cabinet that sees a lot of PCB traffic!
Cooling fans
I’m running two switch mode power supplies which can get quite hot. Keeping these cool is good practice for the sake of longevity and quality of power supplied. I’ve spend a lot to buy quality supplies (after having stability issues with cheaper ‘arcade’ power supplies) to keep a very steady and accurate voltage to my valuable PCBs, so I want to keep them in the best condition possible. I’ve don’t this by installing two Panflow 12V 120mm fans, commonly used in computers. One installed low to blow directly across the power supplies, and another higher on the back panel to extract air near the monitor chassis (another source of heat).

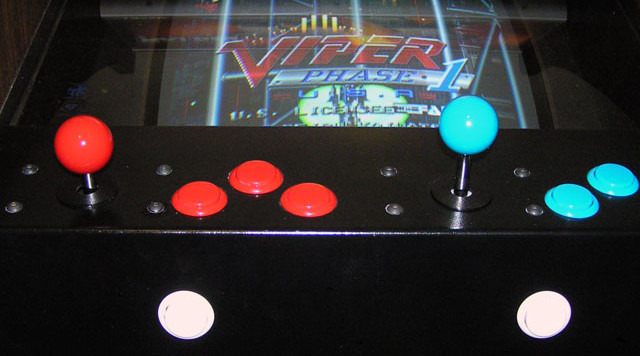
Joysticks lowered
I’ve lowered my joysticks for a more comfortable feel, much like the candy cabs I played in Japan. Control panel configuration is an individual thing, what works for me may not work for you. I like shorter joysticks, so I can rest my hands on the top of the control panel as I play. The sticks weren’t shortened (so the throw distance is still the same, which is quite short on these Sanwa sticks), instead I’ve mounted the entire joystick assembly deeper underneath the control panel.


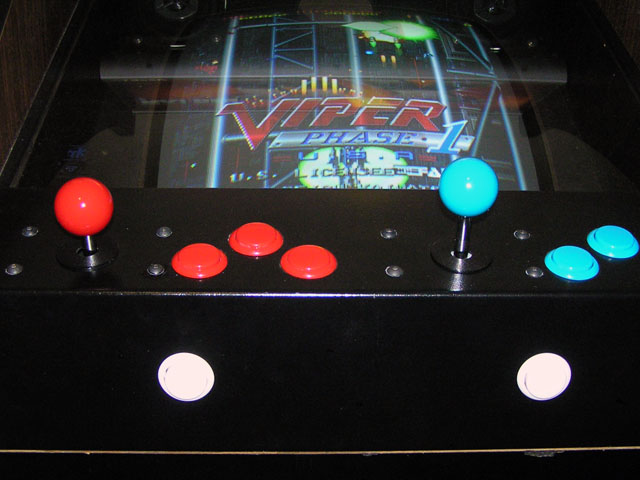
For the curious or arcade geeks: Those are Sanwa JLF-TP-8T ball top joysticks, commonly found in Japanese candy cabs, which I highly recommend. The action on these is very defined (quite click-in, click-out – high quality micro-switches) and the throw is ultra short, I’d estimate 5mm in each direction to switch. I’m never using anything else for shmupping. The buttons are also Sanwa. They are slightly domed and have a very light action. These are the ‘snap-in’ variety, as opposed to the threaded type. I installed these after my previous cheapies were giving me cramps from being to hard. I scored these cheap from a friendly arcade operator’s spare parts stock. 🙂
Hardware and software engineer with experience in product development and building automation. Director at Cabot Technologies and Product Manager at NEX Data Management Systems.
